godzilla
1 AYC Bar
- Location
- QLD / Tweed Coast
- First Name
- Trevor
- Drive
- 1/19 2002 FL Legnum Type 'S' Manual in Black with Suede Recaro's!
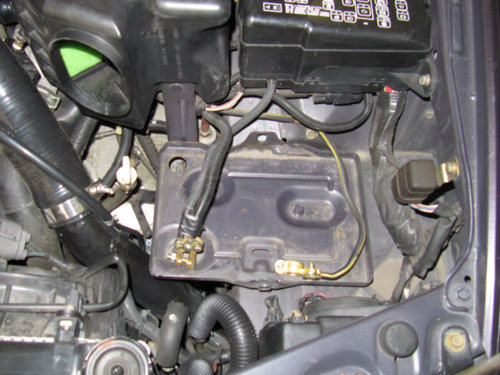
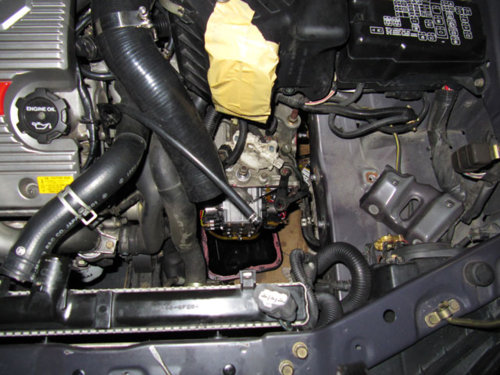
Any ideas how long, if working non stop, would it take to complete this fix from start to drive away?
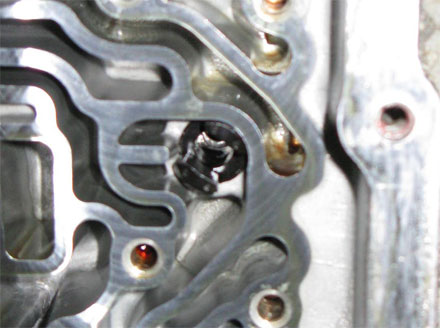
I now have a source for the o-rings, picked up a couple of dozen on the way home from work and they fit perfectly. As I figured, they are a Japanese sizing and only specialist shops will have them. Not a huge cost saving, but better availability than from Mitsubishi. The genuine ones I bought were the last three in the country and any more had to be back ordered from Japan.
Nitrile (Buna-N) 70 Duro is fine for the o-ring material, it's rated for transmission fluid and temperatures from -40ºC to 120ºC. The transmission fluid's normal operating temperature is 70ºC to 80ºC.
So, I'll probably offer my set of six genuine Mitsubishi o-rings up for sale here when the remaining ones finally come in. Anyone interested?


This one had me a bit stumped, but much measuring with the calipers indicates that the larger o-ring seal MD756673 on the clutch accumulator should be: 37.7mm ID x 3.5mm C/S